Documentation
Marble St PRO
Everything you need to set up and customize your hospitality website.
From installation to advanced styling — step by step.
Step 1
Getting Started
1. Upload and Activate
After purchasing Marble St PRO, download the .zip file from your order confirmation email or your account page. Then:
Go to Appearance → Themes → Add New → Upload Theme in your WordPress dashboard. Select the marble-st-pro.zip file and click Install Now. Once installed, click Activate.

2. Insert a Starter Design
Create a new page (Pages → Add New). In the editor, click the + inserter button and switch to the Patterns tab. You will see all Marble St PRO pattern categories: Hero, Menu, Gallery, Events, Sections, and CTA.

Pick a category (for example, Marble St PRO — Hero) and drag any pattern into the page. Combine multiple patterns to build your homepage — a hero section, then a menu, gallery, events, and a CTA at the bottom.

Name the page “Home Page” (or whatever you prefer). Set the template to Page No Title for a clean, full-width look. Click Publish.
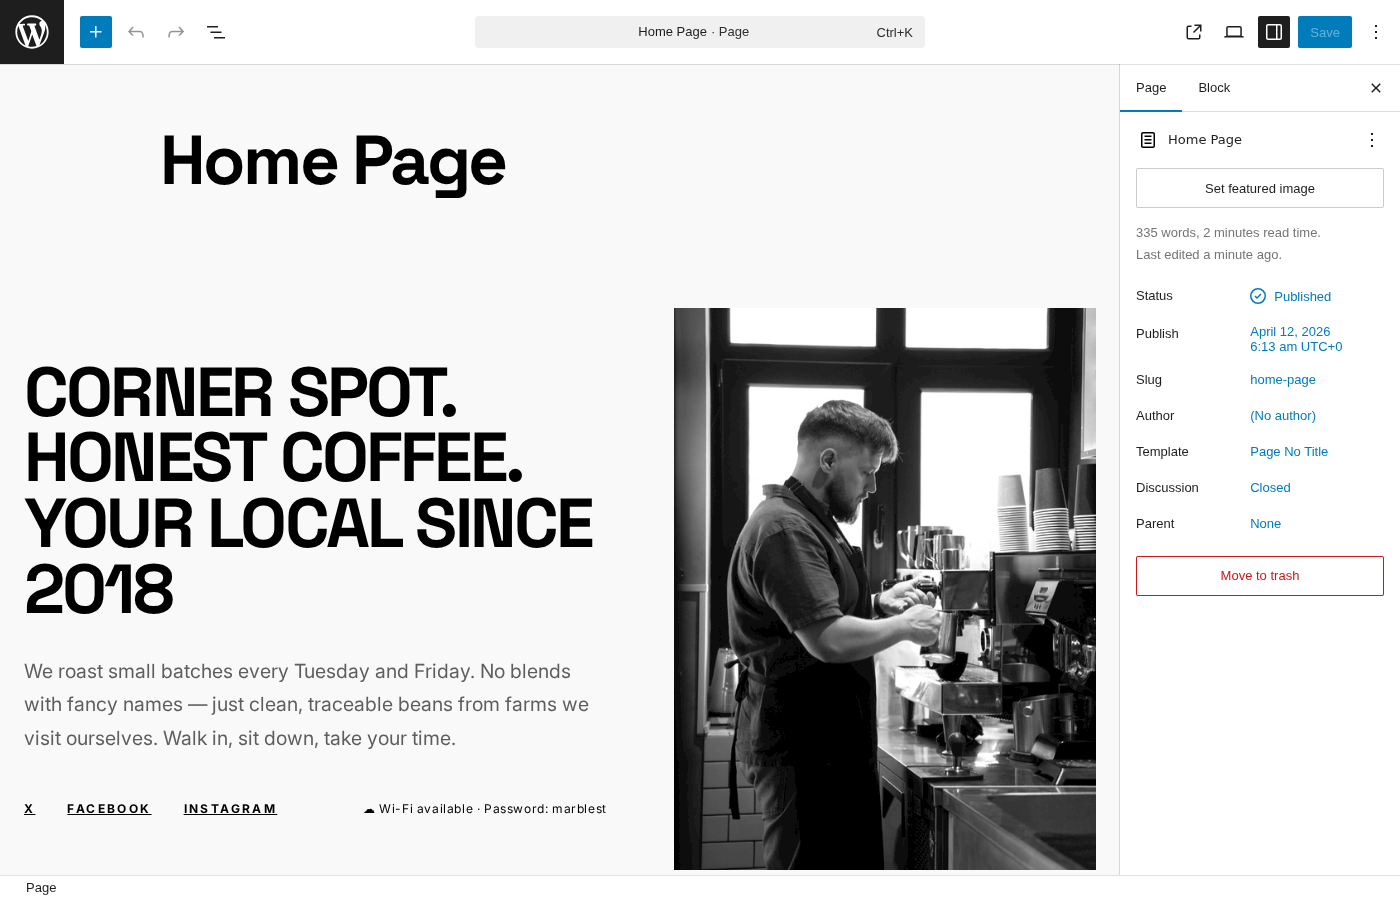
3. Set It as Your Front Page
By default, WordPress shows your latest blog posts on the front page. To use your new homepage instead, go to Settings → Reading. Select “A static page” and choose your “Home Page” from the dropdown.

Click Save Changes. Your site now shows the starter design as its front page:

Step 2
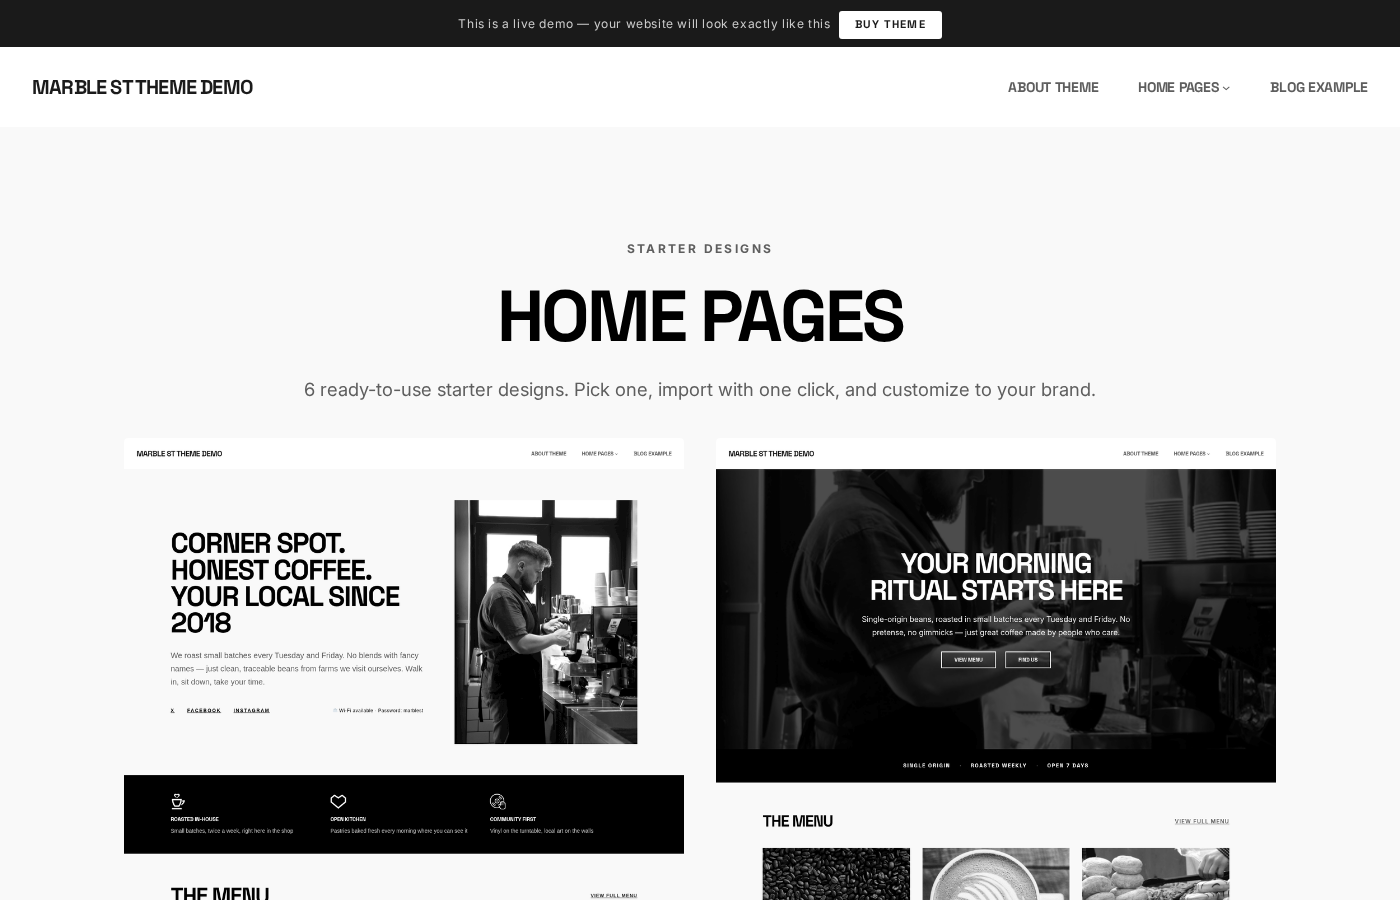
Starter Designs
Marble St PRO includes 6 complete homepage designs, each tailored for a different type of venue. Pick the one closest to your business and customize from there.
Available Designs
Coffee Shop — Bold headlines with a warm, inviting layout. Perfect for artisan roasters and independent cafés.
Café — Image-rich design focused on food photography and daily specials.
Cocktail Bar — Dark, atmospheric layout with large hero images and an elegant menu section.
Billiards Club — Structured grid layout with event scheduling and venue gallery.
Hookah Lounge — Visual storytelling with full-width imagery and social proof sections.
Tea House — Minimal and clean, with focus on product listings and serene aesthetics.
How to Import a Starter Design
Open the Site Editor → Patterns and look for the Marble St PRO — Full Pages category. Each starter design is a full-page pattern you can insert into any page. Create a new page, click the + inserter, switch to the Patterns tab, find “Marble St PRO — Full Pages”, and insert the design you want.
Step 3
Color Styles
Marble St PRO ships with 22 global color palettes — called Style Variations. One click transforms your entire site: backgrounds, text, buttons, borders — everything updates at once.
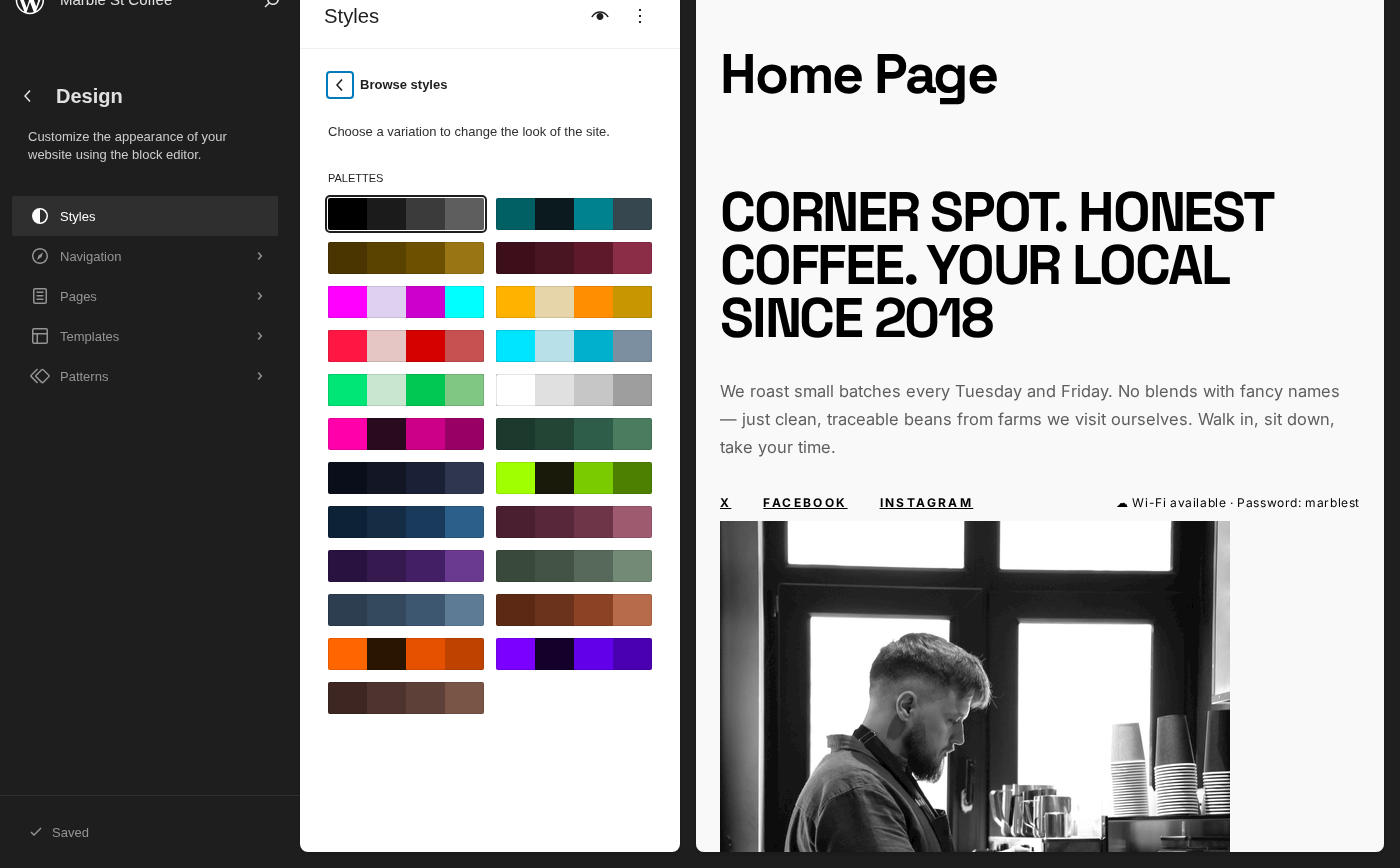
How to Change Color Style
Open the Site Editor → Styles. Click “Browse styles” to see all 22 variations. Click any variation to preview it in real time, then hit Save to apply.
Available Palettes
Default (Monochrome) · Acid Cyan · Amber Gold · Burgundy Wine · Cyberpunk · Dark Amber · Dark Crimson · Dark Electric · Dark Emerald · Dark Inverted · Electric Pink
Forest Green · Midnight · Neon Lime · Ocean Blue · Rose Gold · Royal Purple · Sage · Slate Blue · Terracotta · Toxic Orange · UV Violet · Warm Coffee
Step 4
Block Patterns
Patterns are pre-designed content sections you can drop into any page. Marble St PRO includes 66 patterns organized into 7 categories — each one styled and ready to use.

Pattern Categories
Hero Sections — Large, impactful sections for the top of your homepage. Full-width images, bold headlines, and call-to-action buttons.
Menu / Pricing — Display your food and drink menus, pricing tables, and product lists in a clean format.
Gallery — Showcase your venue with various image gallery layouts — grids, masonry, and fullwidth.
Events — Display upcoming events, schedules, and special occasions.
Sections — General-purpose content blocks: about sections, team introductions, testimonials, and feature showcases.
CTA (Call to Action) — Conversion-focused blocks for reservations, newsletter signups, contact forms, and promotional banners.
Full Pages — Complete homepage designs (the 6 starter designs) that combine multiple pattern sections into a ready-to-use page.
How to Insert a Pattern
Open any page in the editor, click the + button (block inserter), switch to the Patterns tab, and look for categories starting with “Marble St PRO”. Click any pattern to insert it directly into your page. You can then customize all text, images, and colors.
Step 5
Templates
Templates define the structure of different page types across your site — how headers, footers, and content areas are arranged.

Included Templates
Front Page — Used for your homepage. Set it in Settings → Reading.
Page — Default template for all pages. Includes header and footer with content area.
Page with Title — Same as Page but displays the page title prominently at the top.
Page No Title — Clean canvas with no page title — ideal for custom landing pages.
Blog Home — Displays your latest posts in a grid or list layout.
Single Posts — Template for individual blog post pages.
All Archives — Used for category, tag, date, and author archive pages.
Search Results — Displayed when visitors use the site search.
404 Page — Shown when a page is not found.
Assigning Templates to Pages
When editing any page, open the Settings sidebar → Page tab and look for the Template section. Click to switch between templates. For example, use “Page No Title” for landing pages where you want full control over the layout, or “Page with Title” for content-heavy pages.
Need Help?
If you run into any issues or have questions about Marble St PRO, our support team is here to help.